We may earn money or products from the companies mentioned in this post.
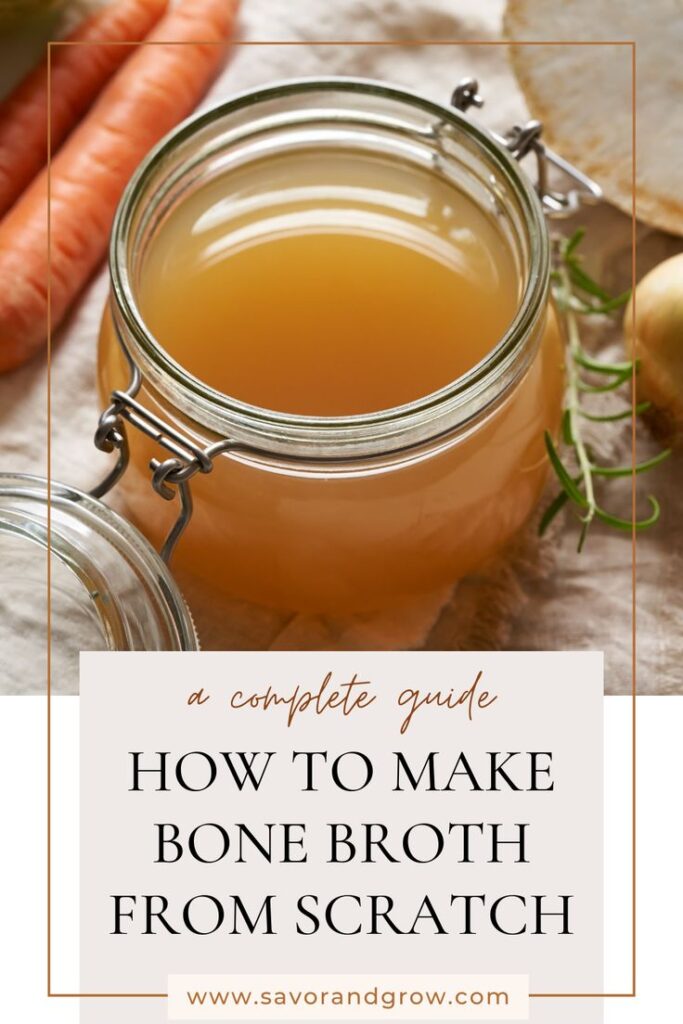
If you’re seeking a simple and healing recipe, homemade bone broth is the perfect choice. Support your gut health and overall wellness with this simple crockpot recipe.

A big part of embracing a homestead lifestyle is finding ways to be a producer rather than just a consumer. And as the heart of the home, with an effortless homemade bone broth crockpot recipe, the kitchen is the perfect place to start.
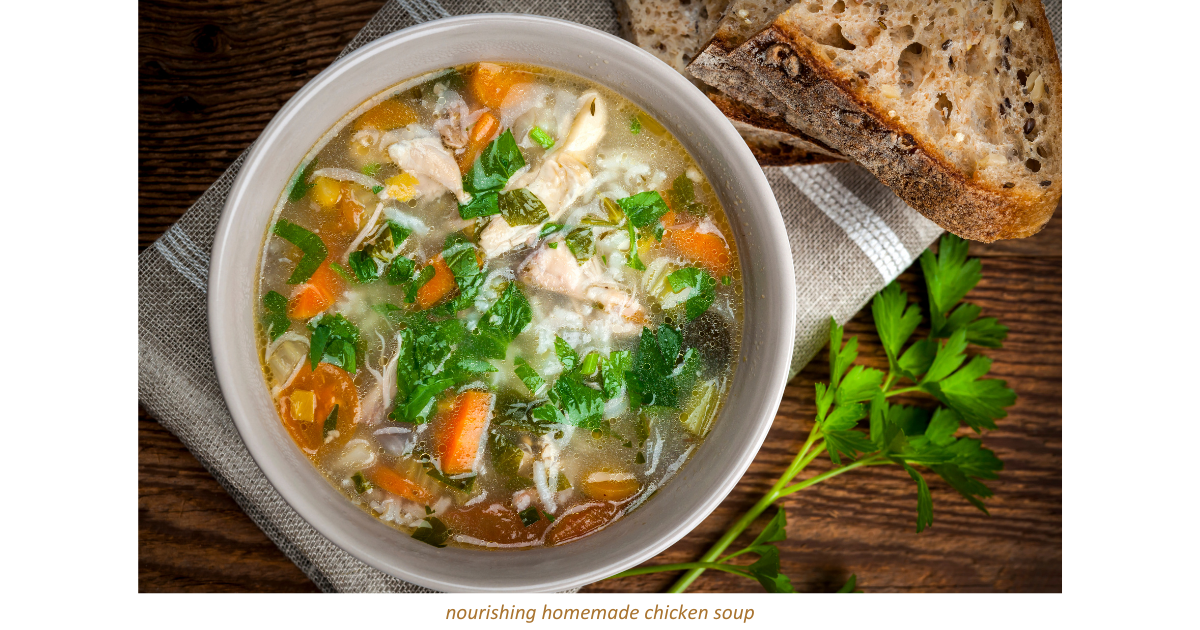
I fondly recall moments from my childhood when sickness struck and my mom instinctively reached for a comforting bowl of chicken noodle soup. Well, behind this age-old tradition lies a scientific rationale. Long before the era of ultra-processed canned soups, people relied on homemade recipes, often made from nourishing bone broth.
By now, many of us have heard the term “bone broth”, often spoken of for its various health benefits and its indispensable role in cooking from scratch.
but let’s face it, distinguishing the real deal in a sea of brown liquids on grocery store shelves is like playing a game of “spot the difference”.
We’re inundated with marketing schemes and fancy packaging claiming the wonders of bone broth. But imagine creating this liquid gold right in your own kitchen, at a fraction of the cost, with even more nutrition, and simpler than navigating the aisles of the grocery store.
Broth vs Stock: What’s the difference?
Broth is made using bones that retain some meat and due to shorter cooking times, is usually lighter in flavor and color compared to most stocks. To enhance the flavor, a classic mirepoix of vegetables (onions, carrots, and celery) can be added as well as spices and herbs.
Handy Hint: Since vegetables don’t contain collagen, they can only create a broth. However, you may still find boxes labeled as vegetable stock in grocery stores.
Stock is the rich liquid that results from simmering animal bones in water and requires an extended cooking time, usually 12 to 36 hours, to extract the abundance of collagen the bones contain. Compared to broth, stock has a thicker consistency due to the gelatinous nature of collagen and when at room temperature or chilled becomes jiggly and jelly-like.
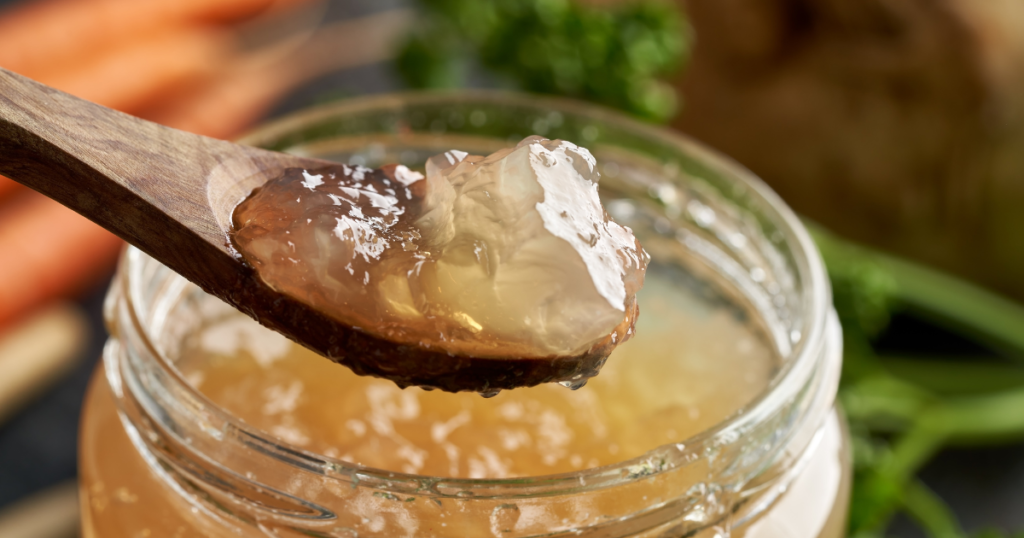
Despite the confusion, bone broth is actually a stock.
And while not necessary in the true definition of stock, adding aromatic vegetables, spices, and herbs enhances the flavors even more. (Source)
Caveat: While we distinguished that bone broth is essentially a stock, for all intents and purposes and given the familiarity with the term “bone broth”, I’ll continue using this term throughout the rest of the article.
Essential Ingredients for Homemade Bone Broth
Quality matters and bone broth is no different. The foundational components for bone broth include water (ideally filtered—we rely on this Berkey water filter and are very happy with it), bones sourced from sustainably raised animals, vegetables (usually onion, carrots, and celery), and a blend of herbs and spices like peppercorns, rosemary, and thyme.
Another helpful addition to bone broth is vinegar, often apple cider vinegar. Not only does it provide a subtle acidic tang but according to experts, it helps to draw the minerals and collagen from the bones which gives broth its bounty of health benefits and depth of flavor. I also add unrefined sea salt (I’m particularly fond of this brand) and often garlic cloves.
If you don’t have bones left over from something you’ve previously cooked, you can source them at a farmer’s market, butcher shop, or local farm store. Aim for bones abundant in cartilage and connective tissue, or request the butcher to separate them at the joints.
Aromatic vegetables, such as leeks, onions, carrots, and celery, enhance flavor and repurposed vegetable scraps are a resourceful and savory addition to homemade bone broth.
Tips for Making the Easiest Bone Broth in a Crockpot
While homemade bone broth is quite fool proof, consider these tips to maximize flavor and health benefits:
#1: save your scraps
Whenever we have a roasted chicken for dinner, I stash the carcass and bones into a freezer bag until I have enough for a large batch of stock.
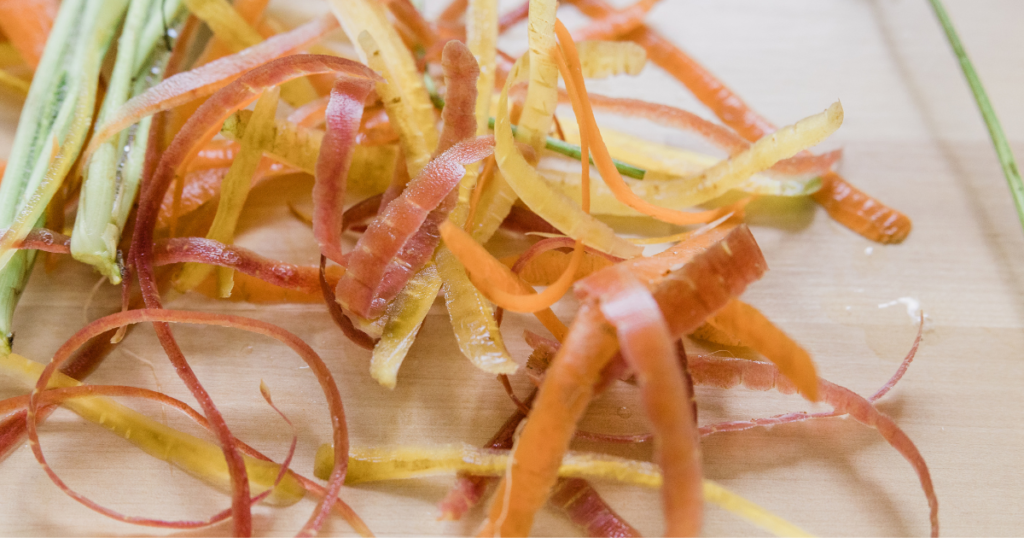
And I cannot leave out another simple thrill – repurposing vegetable scraps. Trimmings from onion, carrot and celery ends are the perfect addition to your bone broth in the crockpot as well as limp vegetables you otherwise won’t use. Collect these goodies in a freezer bag, reusable silicone container, or other closed container and pop it in the freezer until you’re ready to start a new batch of stock.
#2: use less obvious parts and bones
This might seem unappealing if you haven’t done it before, but using less obvious parts of the animal can result in an even more nutrient-dense broth and it’s also typically less expensive, too. When making chicken stock for example, consider using the feet, necks, and backs that tend to have the most collagen and cartilage out of all of the chicken bones.
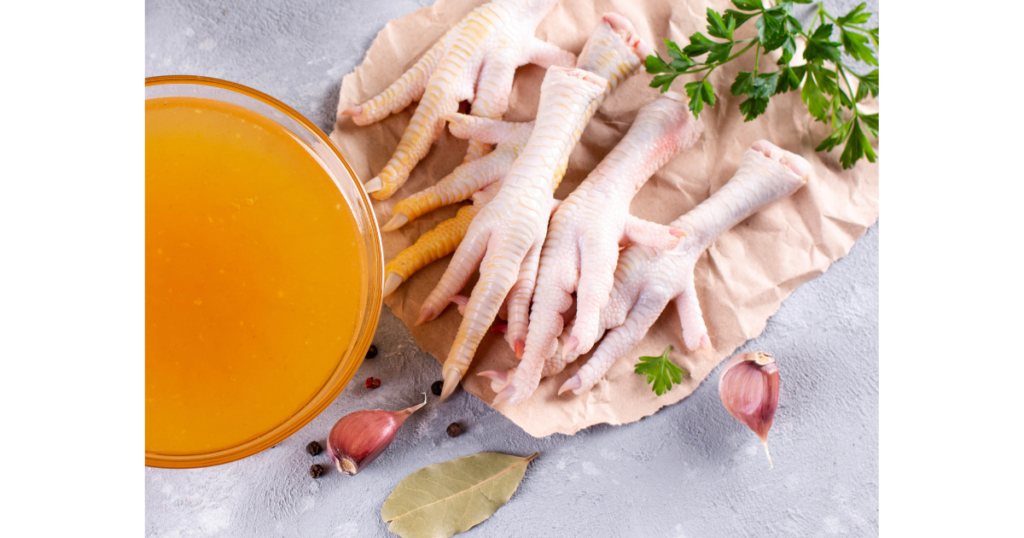
I can practically see you cringing at the thought of chicken feet in your crockpot. But hey, don’t knock the nutritional punch these underrated parts pack! And since there isn’t exactly a rush of people fighting for them, butchers often offer these parts for a great price.
#3: apple cider vinegar
As previously mentioned, apple cider vinegar helps draw out the minerals and collagen from the bones. Add 1 to 4 tablespoons of ACV to your crockpot before the water heats up for the best results.
#4: add salt
Add about 1 tablespoon of quality salt per 1 gallon of water at the start of your simmer. Unlike other recipes where you season as you go, adding salt at the start will contribute to a rich flavor as the broth concentrates.
While I’m on the subject of salt, I have to take a moment to highlight the difference in quality between regular table salt and “real salt”. Unlike natural sea salt and pink Himalayan salt, table salt is processed to remove natural minerals and then fortified with additives to prevent clumping.
Here’s my top choice for real sea salt and pink Himalayan salt.
#5: skim the scum
Within the first hour of simmering, revisit your crockpot and skim the scum, or foam, off the top to result in a clearer broth. This is purely for aesthetic reasons however so if you’d prefer the method of “set it and forget it”, it will not affect the taste or quality of your stock. The scum is mostly the same proteins that make up egg whites and it comes from the meat, not the bones.
#6: substitute broth for water
I love this tip. When making rice, pasta, potatoes or steaming vegetables, swap broth for water to enhance the flavor and nutritional value. You can also sip on bone broth to receive the abundance of health benefits it offers.
#7: low and slow
Cooking your bone broth low and slow is easy to achieve in a crockpot, but should you decide to use a large stock pot instead, keep the heat very low to avoid boiling. Cooking on too high of heat can denature some of the collagen making it less likely to gel when cooled.
Homemade Bone Broth Recipe for a Crockpot
Instead of a strict recipe, think of this as more of a formula, which gives you the freedom to experiment and manipulate as you wish. Don’t have the precise quantity of vegetables available? No problem, simply toss in that bag of frozen vegetable scraps or use whatever you have on hand. Lacking particular herbs? No stress, just throw in a few sprigs of fresh herbs if you have them or feel free to skip them altogether.
Flexibility is key and it’s really all about the quality bones and rich nutrients (protein, minerals, and collagen) that are extracted from them.
Ingredients:
- 1 leftover roasted chicken carcass or 2 to 3 pounds beef bones
- 3 Tbsp apple cider vinegar
- 1 onion, halved
- 3 carrots, roughly chopped
- 2 ribs of celery, roughly chopped
- 6 garlic cloves, whole
- 2 Tbsp dried rosemary
- 2 Tbsp dried oregano
- 2 Tbsp dried thyme
- 2 bay leaves
- 1 Tbsp fine sea salt
- 10 black peppercorns
- Filtered water
- Chicken feet (optional)
Instructions
In your crockpot (or stockpot if you prefer stove-top simmering), combine the bones, vinegar, vegetables, and seasonings, then cover with filtered water. Set the temperature (or burner) to low heat, cover, and let it simmer. Check after 1 hour and skim any scum from the surface. Allow it to simmer for an additional 12 to 36 hours.
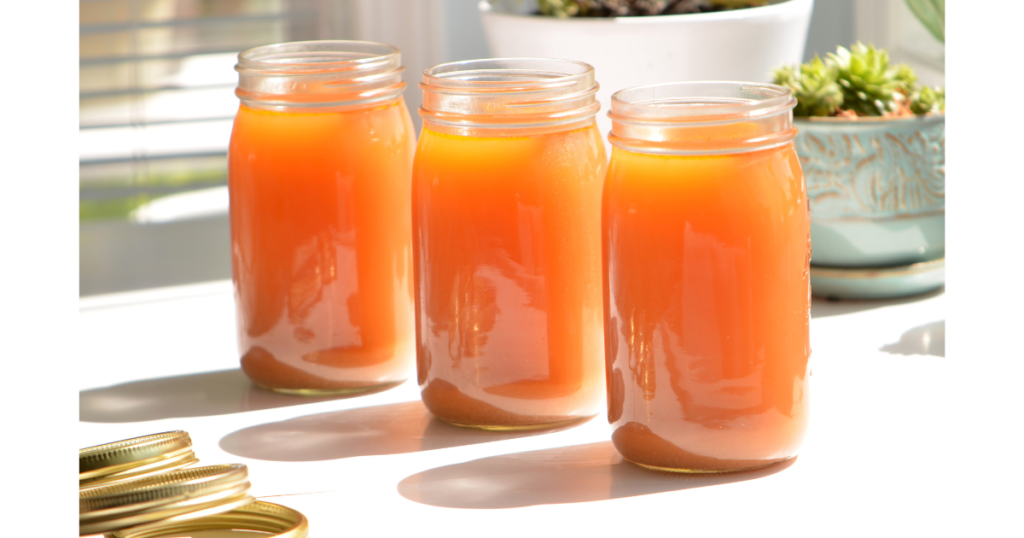
Ladle the finished, cooled stock into a fine mesh strainer and pour into glass jars. Store it in the fridge to use within a week or freezer for long-term storage.
Notes
- Leave the peels and trimmings on. The papery outer layers of onions and garlic hold a ton of flavor, and same for the peels and trimmings of carrots and celery. So, save yourself time and skip the peeling!
- Chicken feet – before you dismiss them, consider the impressive nutritional benefits. However, maybe spare your skeptical family members the sight of those feet bobbing in the broth, especially if they’re already hesitant about trying your concoction.
- If you’re using raw bones, roast them in the oven at 400 degrees for 30 minutes or until they brown, flipping them occasionally. This really adds depth to the flavor but if you’re in a hurry you can skip this step.
Storing and Freezing Bone Broth
Bone broth is a staple to have on hand, and with these simple freezing methods, you’ll always have a stash ready to use.
If you’re going to use your stock within 5 to 7 days, store it in the fridge tightly covered. But if you’re looking for long-term storage options, look to these simple freezing solutions.
option #1: glass mason jars
Freezing in glass Mason jars is a great option but to avoid cracking, be sure to follow these steps.
- Allow to cool to room temperature before pouring and storing.
- Don’t fill to the top. Leave at least 1” of space at the top to allow for expanding.
- Use tapered, or straight-edge, jars without “shoulders”. See **this helpful chart for freezer-safe options. Jars with shoulders risk breaking as the liquid expands during freezing. Tapered jars help alleviate this pressure. If you are using a jar that has shoulders, be sure to leave 1” of room between the top of your bone broth and the beginning of the shoulder.
- Keep the lids loose until frozen. Gently screw the lid on the jar, store upright, and wait until completely frozen before tightening the lid.
- Let your frozen jars thaw completely before heating.
- Label and date.
- Store for up to 3 months.
option #2: freezer bags or silicone storage containers
Freezing bone broth in freezer bags or silicone storage bags or containers is another option. While this method avoids tying up your glass Mason jars, it’s important to note that some chemicals may leach into the broth from these materials, so be cautious when selecting.
- Allow to cool to room temperature before pouring and storing.
- Fill about ¾ of the way.
- Lay freezer bags flat to freeze and save space.
- Label and date.
- Store for up to 3 months.
option #3: ice cube trays
This method might be the most labor-intensive, as it involves filling trays, freezing, popping out the cubs, and then transferring them into a storage container. However, it does offer great flexibility since you can easily grab and reheat small portions as needed. Using a silicone tray (like this one), can streamline the process by making it simpler to remove the cubes.
- Allow to cool to room temperature before pouring and storing.
- Fill about ¾ of the way.
- Freeze, remove, and transfer. Allow broth to freeze completely before popping them out of the trays and transferring to a freezer-safe container.
- Label and date.
- Store for up to 1 year.
How to Incorporate Bone Broth In Your Diet
Now that you’re totally on board with the idea of homemade bone broth becoming a regular thing in your household, you might be wondering how to seamlessly incorporate this liquid gold into your and your family’s diet, right? Well, fret not! Here are some simple ideas to help you do just that:
- Sip on bone broth like a cup of nourishing tea
- Swap bone broth for water when cooking grains, potatoes, or steaming vegetables
- Use broth in homemade soups
- Add bone broth (or ice cubes made from it) to smoothies
Here’s another easy tip: keep a batch of bone broth right up front in your fridge. It’s like having a friendly nudge whenever you open the door—a reminder to pour a mug for the kiddos or toss it into your next meal. Trust me, it works!
Final Thoughts
The first time I made bone broth in our quaint kitchen, I was on top of the world. It sounds a bit dramatic but I couldn’t ignore the deep satisfaction it brought me to see the mason jars full of golden-bronze, nutrient-dense bone broth that lined my kitchen counter. The thrill deepened even more after our boys got hit with an illness and I watched them sip on the nourishing broth I made at home, without the packaging, artificial additives, or high price tag.
like baking bread, i consider homemade bone broth to be the gateway to cooking from scratch.
For financial, flavor, and nutrition reasons, homemade bone broth is where it’s at. Once you experience the flavor and satisfaction that comes from homemade stock, there’s no turning back.
Enjoyed this post? Please share it to Pinterest!